Have you ever wanted to print your own passport photos without having to go through the trouble of visiting to the local photo store? As long as you have your own personal printer at home, ImagePrint makes it easy for you to do so with just a few clicks.
In this example we will show how to crop a photo to the standard US passport photo size of 2 x 2 inches (50,8 x 50,8 mm). Please notice that the sample image used in this guide might not satisfy the government requirements for passport photos.
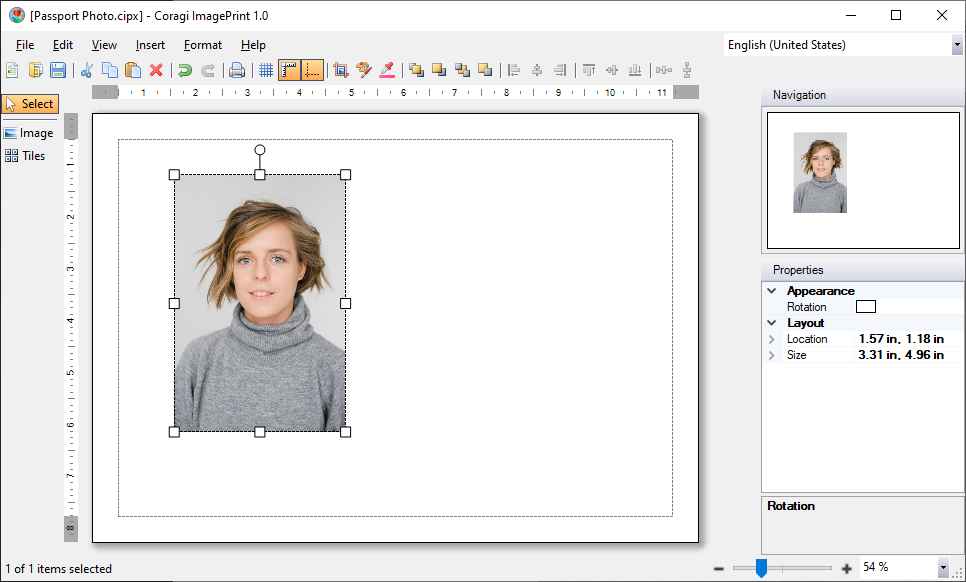
- Open ImagePrint
- Add a new photo by pressing Insert > Image on the main menu bar, or by double-clicking on the page background. Select the photo you would like to use and press the Open button.
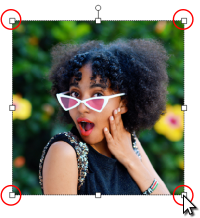
- Right-click the inserted photo and select Crop from the popup menu. For US passport photos, set the Crop View width and height to 2 inches, i.e. a size of 2 x 2 inches. For other countries you need to check the local government requirements. The Crop View settings can be found in the right Properties panel.
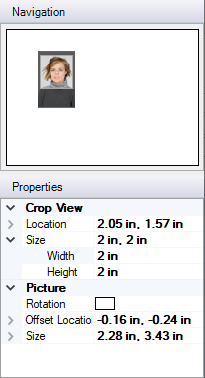
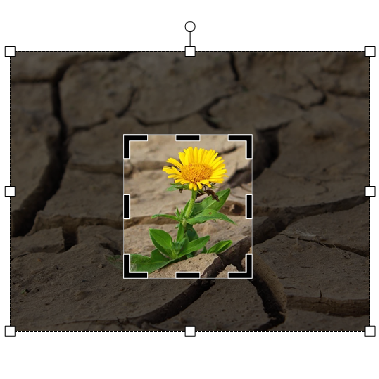
- Resize and move the photo so that the face fits correctly within the Crop View rectangle. For the exact requirements for your destination country, you need to consult the relevant authorities. Each country might have different requirements to the visible area of the forehead and chins that your photo need to adhere to.
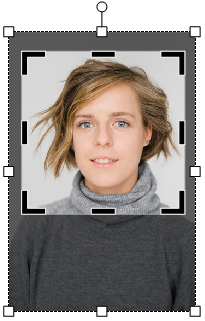
- When finished, press the Enter-key, or click somewhere outside the picture to apply the clipping.
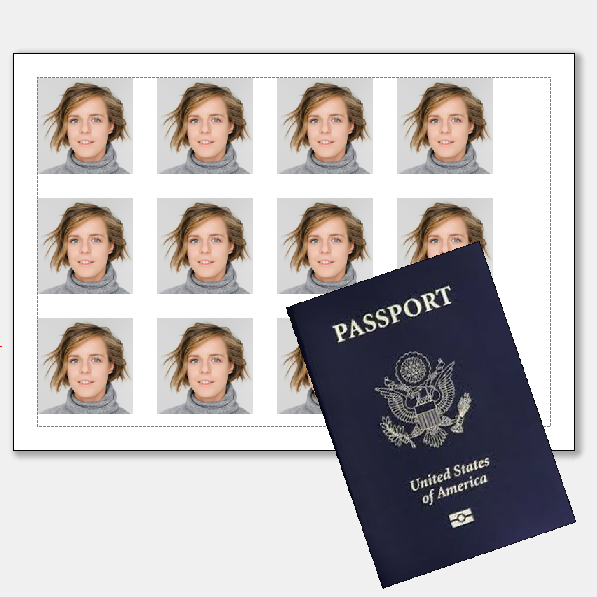
- To print multiple copies of the same photo, Press Insert > Tiles on the main menu bar. The Tiles shape is added to the document. Now, drag and drop the photo inside the Tiles shape. When you unselect the Tiles shape, the photo is repeated horizontally and vertically.
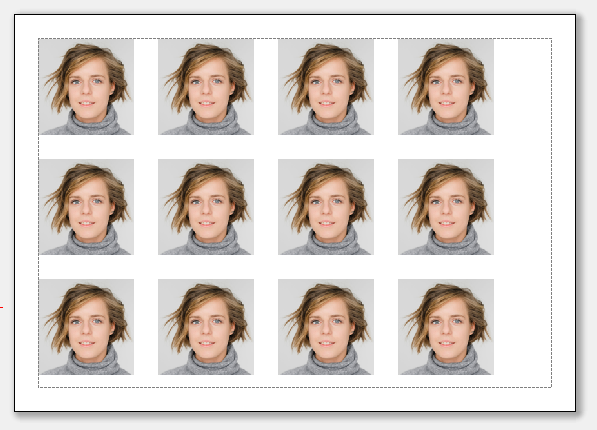
- Press File > Print… > Print to print the photos on the default printer.