Often you need to rotate a picture when you are working with digital content that will be published on different websites.
You may need to adjust a photo for several reasons. The default orientation of a photo depends on how the photo was originally taken. Most mobile phones use vertical (portrait) orientation. Desktop computers, on the other hand, prefer a horizontal (landscape) orientation. Therefore some of your photos may appear sideways when you view them on your computer. To correct this issue you need to adjust the JPG or PNG in a photo editor.
In other situations, you might need to adjust the angle of a crooked a photo to make it straight and tidy. Perhaps you didn’t keep the camera in a steady upright position when you snapped the picture?
Let us have a look at the various ways you can rotate a picture in ImagePrint.
Manually rotate a picture
After you have inserted a new picture in ImagePrint, please do the following:
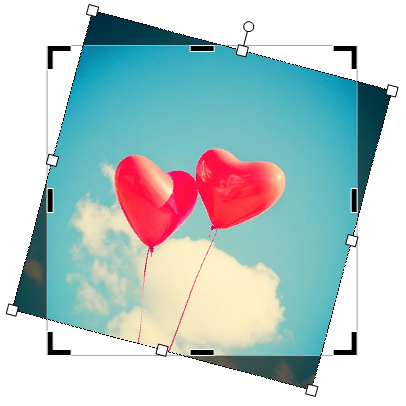
- Select the picture by clicking the left mouse button
- Manually rotate the picture by selecting the circular rotation handle and dragging in the direction you want. By default, the image will snap the angle to 15 degrees. For a more accurate rotation, press the Alt-key while you drag the handle. This will disable the snapping to 15-degree angles.

Rotate a picture a specific amount
Please do the following:
- Select the picture
- Enter the amount that you want to rotate the picture in the Rotation box in the right Properties panel.

Manually rotate a picture while Cropping
To “crop” a picture means to remove the unnecessary parts of a photo or drawing. You may choose to remove or adjust the outer edges of a picture to improve the composition, draw the viewer’s attention to specific parts of the image, or to change the size or aspect ratio.
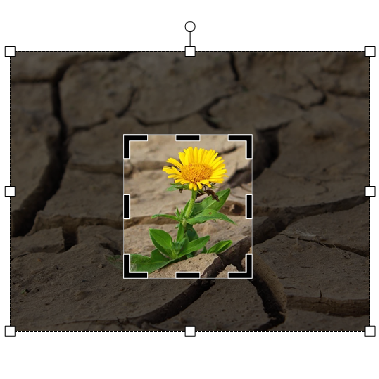
In ImagePrint an image shape consists of a “Crop View” and a “Picture“.
- Picture:
The “Picture” is the actual photo. You can change both the size and rotation of the Picture.
- Crop View:
The Crop View is the fixed frame or passepartout surrounding a “Picture”. The “Picture” may be altered in size and rotation, but the visible part of the “Picture” is always clipped by the Crop View.
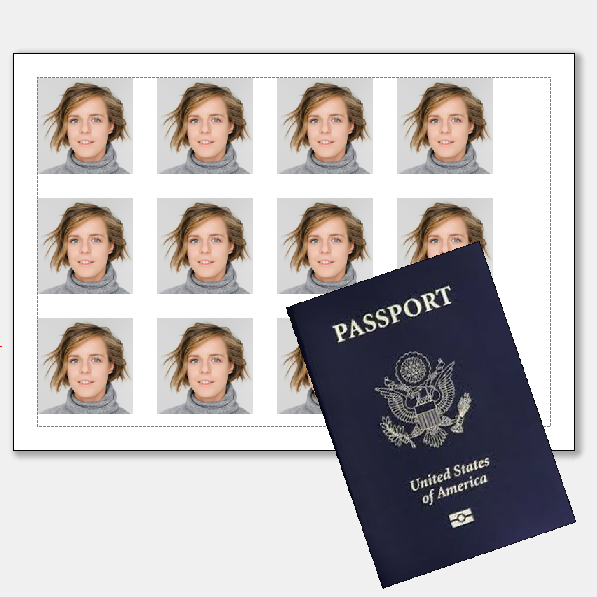
If you are adjusting a passport photo, you would normally choose to rotate the photo while cropping. That way you can adjust the photo while preserving the required size. For an US passport photo you would set the Crop View dimensions to 2 x 2 inches, and then rotate the inner Picture.
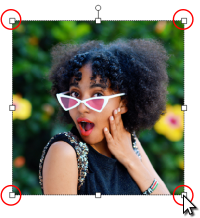
To manually adjust a picture while cropping, please do the following
- Select the picture
- Select Format > Image > Crop on the main toolbar, or right-click on the picture and select Crop.
- Manually rotate the Picture by selecting the rotation handle and dragging in the direction you want. By default, the image will snap the rotation to 15 degree angles. For a more accurate rotation, press the Alt-key while you drag the rotation handle. This will disable the snapping to 15-degree angles.
- Complete the cropping by pressing the Enter-key or click on an area outside the crop area.

Please notice that the Picture has white square drag handles, while the Crop View has black. It is not possible to rotate the Crop View while cropping. To rotate an image the normal way, please see the Manually rotate a picture section above.
Rotate a picture a specific amount while Cropping
If you know the exact rotation angle, then it is recommended set the value in the Properties panel. Please do the following:
- Select the picture
- Enter the amount that you want to rotate the picture in the Rotation box in the right Properties panel. Please notice that the properties of both the Crop View and the Picture is displayed in the Properties panel when you are copping an image.

To adjust the image shape the normal way, please see the Rotate a picture a specific amount section above.
One thought on “How do I rotate a picture?”