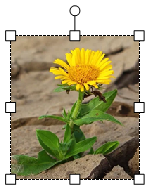
To crop a picture is the removal of unnecessary parts of a photo or drawing. You may choose to adjust the outer edges of a picture in order to improve the composition, draw the viewer’s attention to specific parts of the photo, or to change the size or aspect ratio. Cropping can also be used to resize a passport photo to the required size. The process of cropping is common in the graphics design- and printing business.
It is not possible to “un-crop” a cropped photo unless the original still exists or undo information is available. In ImagePrint only the picture view is adjusted when cropping, which allows the user to restore the entire image to its original state at any time. Since the cropped parts of the picture are not removed from the file, it can potentially be seen by others. However, if an image is exported to PDF, the cropped areas are removed completely to reduce the file size.
Manually crop a picture
To crop a picture in ImagePrint, open the document, add an image (Insert > Image), and then select the photo by clicking it.
Next, right-click the picture. A pop-up menu appears. Click the Crop menu item.
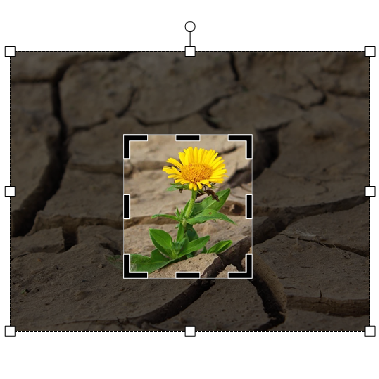
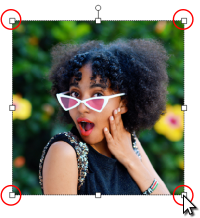
Cropping handles will now appear around on the edges and corners of the image, and the background will be greyed out. Any other pictures in the document will become unclear.
To crop certain areas, click and drag the black handles to capture only the content that you want to keep. You can also outcrop, or add a margin around the photo, by dragging the cropping handles outward rather than inward.
To reposition the crop area, either drag the crop area by dragging the edges or corners of the crop view, or move the picture.
When you are finished, press the Enter-key on your keyboard, or click anywhere outside the cropping area.
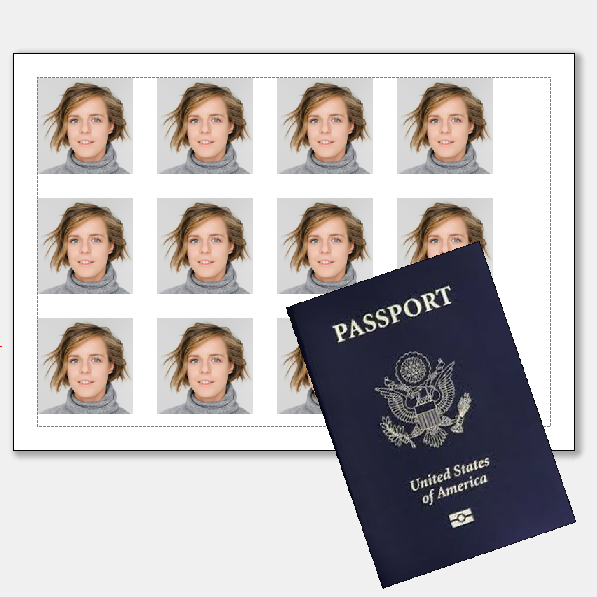
Crop a picture a specific amount
Cropping can be performed either using drag and drop, or by specifying the exact dimensions of the result photo. When printing your own passport photos you need to specify the precise width and height to meet the government requirements. For an US passport photo you would set the Crop View dimensions to 2 x 2 inches. The size of a cropped photo can be specified in the Properties panel.
- Use Insert > Image to add the photo to the document
- Right-click the picture. Select Crop in the pop-up menu.
- The black crop handles now appear on the edges and corners of the picture.
- Instead of moving the crop handles using the mouse, specify the Width and Height of the Crop View in the Properties pane. You can move the picture with the mouse to center the important parts in the view.
- When finished, click somewhere outside the crop area.

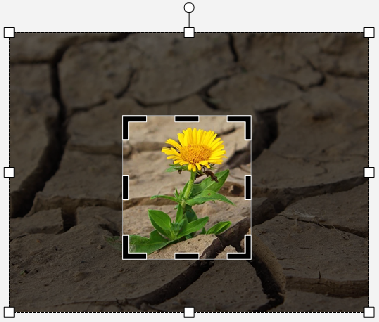
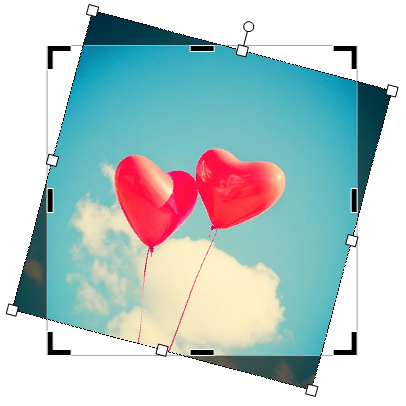
In ImagePrint an image shape consists of a “Crop View” and a “Picture“.
- Picture:
The “Picture” is the actual photo. You can change both the size and rotation of the Picture.
- Crop View:
The Crop View is the fixed frame or passepartout surrounding a “Picture”. The “Picture” may be altered in size and rotation, but the visible part of the “Picture” is always clipped by the Crop View.
To remove parts of the frame, and to move the picture inside the view, you need to adjust the settings of both the Crop View and the Picture.
Restore the original picture
In ImagePrint the original picture is always saved in the document, and only the view of the image shape is altered. To restore the original image by un-cropping the picture, please do the following:
- Right-click the picture.
- Select Reset > Crop
Alternatively, you can select Format > Image > Reset > Crop on the main menu bar.
One thought on “What is Cropping, and how do I Crop a Picture?”